With my beloved, and worn, day to day laptop having to go in for repair, I had to setup a temporary laptop to work on for a few weeks.
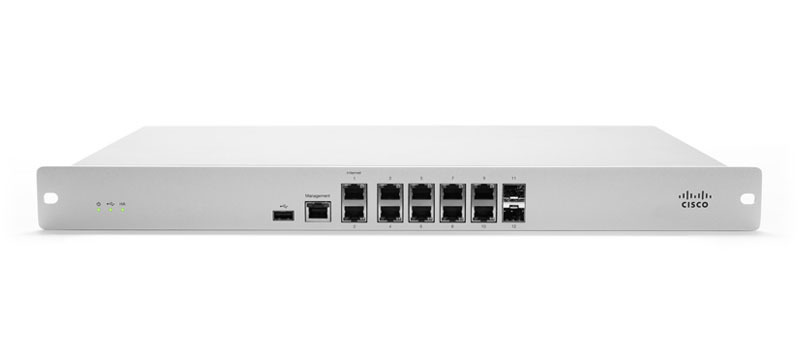
At work we use Cisco Meraki devices in many places, including the edge of network for our various offices. Whilst their main use is to form a mesh network around our offices and server infrastructure, we also use them to enable a lightweight Client VPN solution.
The Cisco Meraki Client VPN option provides a L2TP/IPsec based VPN using either its own internal user store, an LDAP Directory, Microsoft Active Directory, or a Radius server to authenticate users.
Cisco Meraki provide great instructions for Windows, Mac and mobile devices, but really old instructions for Linux. Therefore, I am posting this as much to remind me the next time I need to set it up as to help others.
Install L2TP Plugins for Network Manager
By default, support for L2TP VPNs is not installed for Network Manager, so we need to install them:
sudo apt-get install network-manager-l2tp
sudo apt-get install network-manager-l2tp-gnome
Disable System xl2tpd
Network Manager spawns and manages its own instance of xl2tpd so if there is a system instance still running it will not be able to use UDP port 1701, and will instead use an ephemeral port (i.e. random high port).
To stop this from happening, we need to stop the deamon and disabling it from starting again:
sudo systemctl stop xl2tpd
sudo systemctl disable xl2tpd
Setup Your VPN Connection
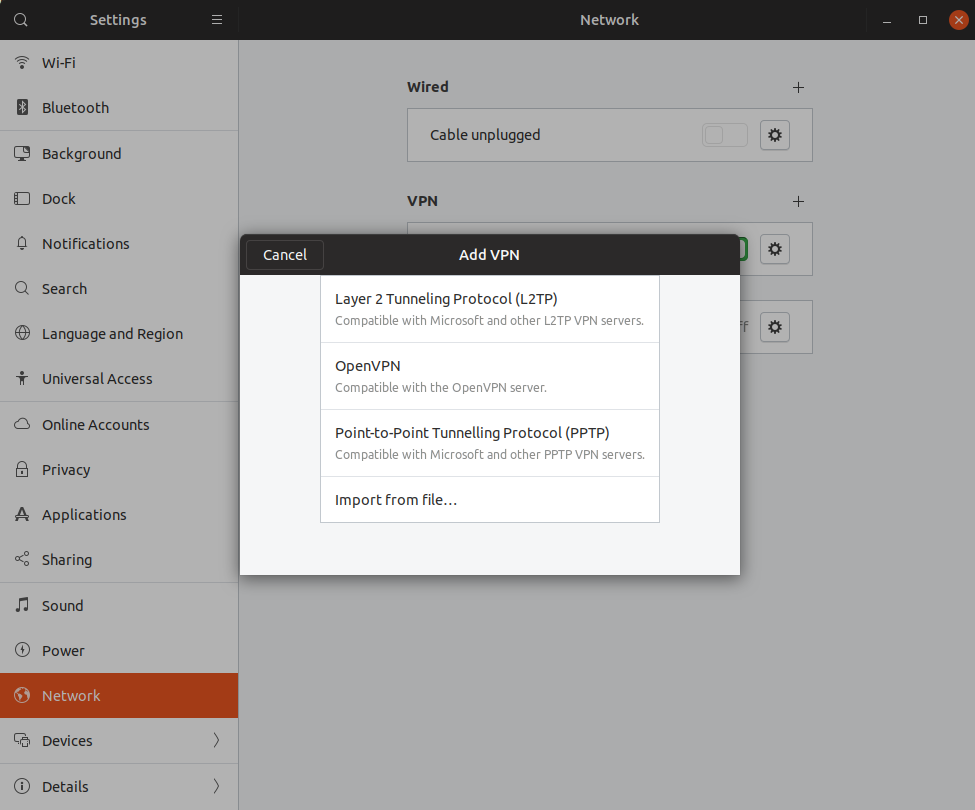
Now you are ready to add your VPN connection. Having taken the steps above, we’ve Gnome Network Manager settings panel now includes the option to add L2TP VPN connections:
The main settings we need to customise to work with Cisco Meraki Client VPN are on the Identity tab.
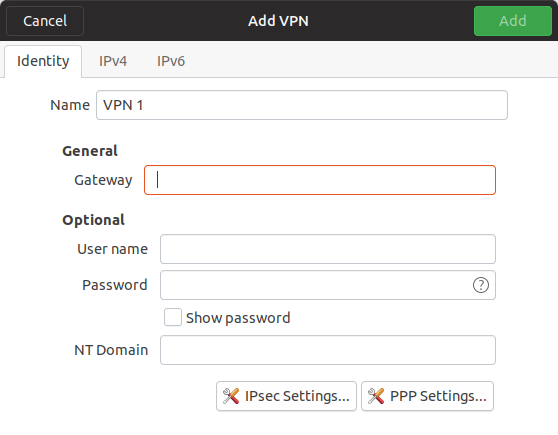
We can give our VPN a name, set the VPN gateway, and add our user credentials (with optional NT Domain depending whether Active Directory is used as the authentication scheme).
We now need to set our IPsec and PPP settings.
IPsec Settings
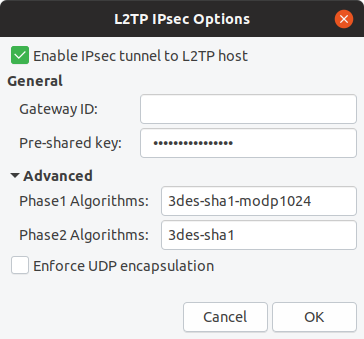
In the IPsec Settings we need to tick the Enable IPsec tunnel to L2TP host checkbox , expand the Advanced settings, and then add three things:
- Pre-shared Key - adding the key provided by your network administrator
- Phase1 Algorithm - use the following 3des-sha1-modp1024
- Phase2 Algorithm - use the following 3des-sha1
Click OK to set this on the connection.
PPP Settings
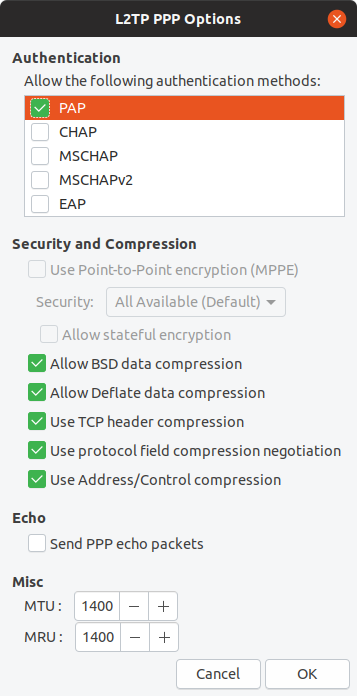
In the PPP Settings we need to make sure PPP is the only Authentication mechanism selected.
The other defaults should be OK, however I’ve included a screenshot to confirm against above.
Click OK to set this on the connection.
Use Your VPN Connection
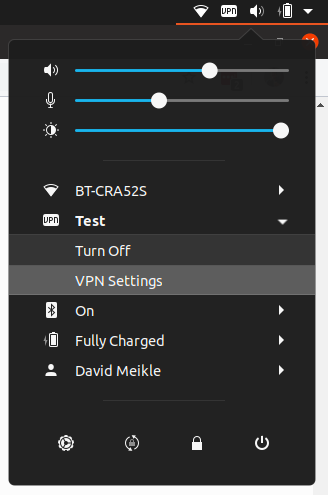
The VPN should now be available in the Gnome Settings panel:
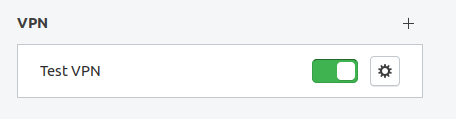
and in the main Gnome Menu for quick connect/disconnect